

Last updated:
Build a small plant card with an image, a caption, and a short description. You can try the complete example in the Playcode123 sandbox, then practise arranging files on your own computer.
What you will build
You will practise choosing an image source, writing alternative text, and displaying an image without stretching it. You do not need to install a library.
Choose where to practise
In the online sandbox: use the full image URL https://playcode123.com/images/plant.png. The example below is ready to paste into the Playcode123 sandbox. It needs an internet connection to load the image.
On your computer: create a folder called plant-card. Inside it, create an images folder. Open the provided plant image and save it as plant.png inside images. Save your HTML as index.html directly inside plant-card.
plant-card/
  index.html
  images/
    plant.png
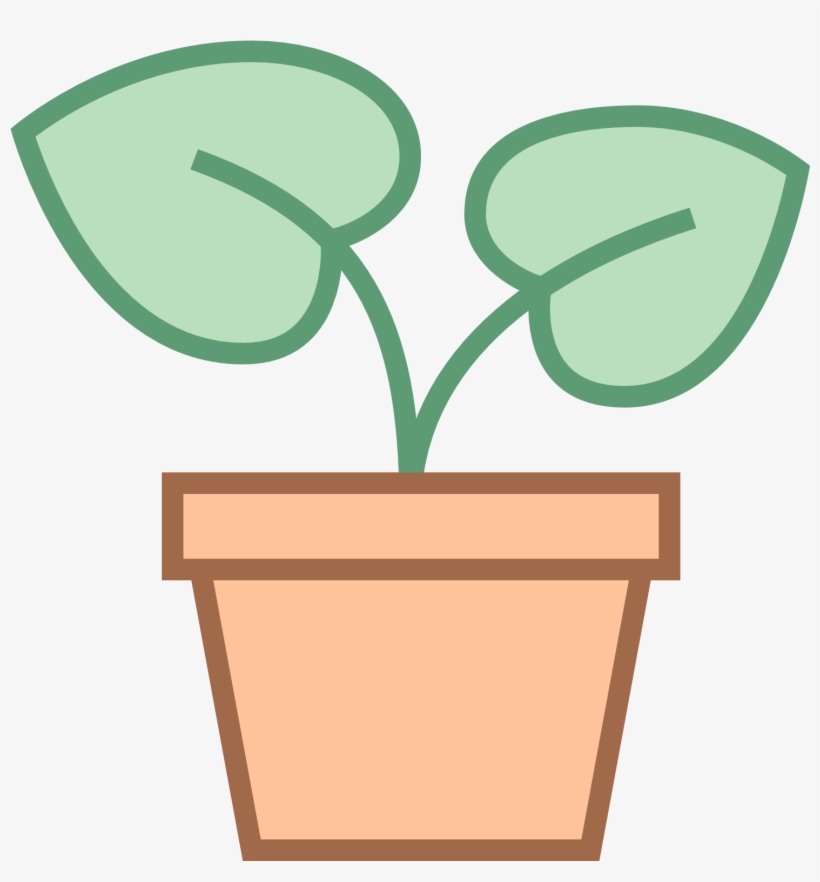
The provided illustration has two green leaves growing from a terracotta-colored pot. It measures 820 × 882 pixels. If you use another image that you created or have permission to use, update the width, height, caption, and alternative text to match it.
Complete example to try in the sandbox
<!doctype html>
<html lang="en">
<head>
<meta charset="utf-8">
<meta name="viewport" content="width=device-width, initial-scale=1">
<title>A plant image card</title>
<style>
body{font-family:system-ui,sans-serif;line-height:1.6;margin:0;padding:24px;color:#172b3a;background:white}main{max-width:720px;margin:auto}figure{margin:0}img{display:block;max-width:100%;height:auto}figcaption{margin-top:12px}
</style>
</head>
<body>
<main>
<h1>My plant card</h1>
<figure>
<img src="https://playcode123.com/images/plant.png" width="820" height="882" style="width:640px;" alt="Two green leaves growing from a terracotta pot">
<figcaption>A small plant illustration for my practice page.</figcaption>
</figure>
<p>The image is loaded from the Playcode123 website.</p>
</main>
</body>
</html>
Use the example on your computer
After saving the image in your local images folder, change the image source to src="images/plant.png". Change the final paragraph to: “The image is stored in the images folder beside this HTML file.” Then save and double-click index.html.
For this local page, images/plant.png means: start in the folder containing the HTML file, enter images, and find plant.png. A picture left in Downloads will not be found at that path. The online sandbox cannot read files from your computer; use the full hosted URL there.
Open the page and inspect the result
In the sandbox, choose Run Code. For your local project, open index.html in a browser. The picture should appear below the heading, with a caption underneath. Make the window narrower: the image should shrink while keeping its proportions. Run the code again in the sandbox, or save and refresh your local page, after an edit.
Make the image useful to readers
The alt text is a replacement for the image when it cannot be seen. Describe what matters in this card. Do not use a filename as the description. For a purely decorative image, an empty alt="" can be appropriate; this plant card uses the picture as content.
The caption is visible to everyone and explains why the picture is on the page. The numeric width and height match the image’s intrinsic dimensions: 820 × 882. The CSS displays it up to 640 pixels wide, limits it to the available space, and uses automatic height to keep its proportions. PNG can preserve transparency, but it is not automatically the smallest format for every photograph.
When the picture does not appear
- In the sandbox, check that the source is the full URL
https://playcode123.com/images/plant.png, then choose Run Code. - For a local project, check that
imagesis besideindex.html, and that the image is inside that folder. - Check whether the file is really
plant.png, notplant.png.pngorplant.jpg. Renaming a JPEG extension does not convert it to PNG. - Compare capitalization:
Plant.pngandplant.pngcan be different files on a web server. - Open the image file or URL directly. If it cannot be opened, check the address or replace the damaged file.
- When testing through a web server, inspect the browser Network panel for the failed image request and its requested path.
When a local project works but disappears after upload, compare the uploaded folder structure with your local one. Upload the image folder as well as the HTML file. Avoid using a Windows path such as C:\Pictures\plant.png in a published page.
Local exercise: move the image folder
This exercise uses the files on your computer and the relative source images/plant.png. Rename the local folder images to assets. Refresh before changing the code and observe the missing picture. Then repair the image source.
Solution: use src="assets/plant.png". The caption and alternative text stay the same because the picture has not changed. Also update the final paragraph to say that the image is stored in the assets folder. Your test is complete when the same image reappears.
Changing the source in the online sandbox does not rename or move a folder on the website. Keep using the full hosted image URL when practising there.
Extend the card
Add a second figure with a different picture and its own caption. Give both images accurate dimensions and descriptions. For local practice, save the second image in your project’s image folder; in the sandbox, use an accessible image URL.
Continue your project
Paths, Folders & File Names is a useful next step. Return to the HTML examples to review the basic syntax.
Further reference
Technical reference: MDN: the img element.